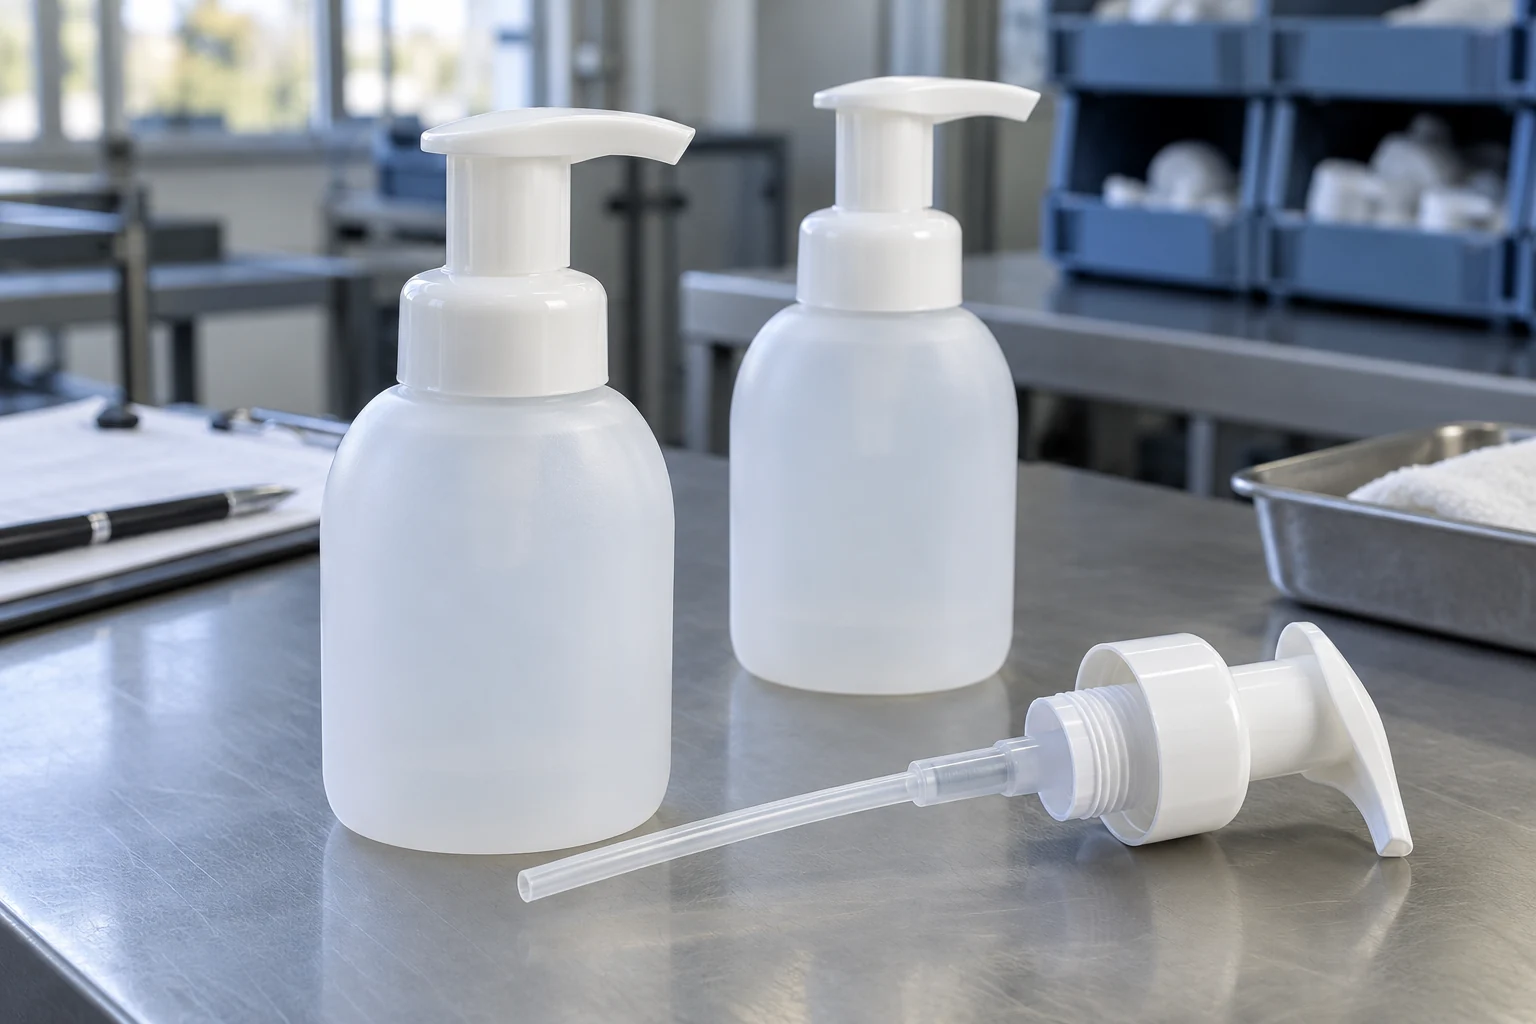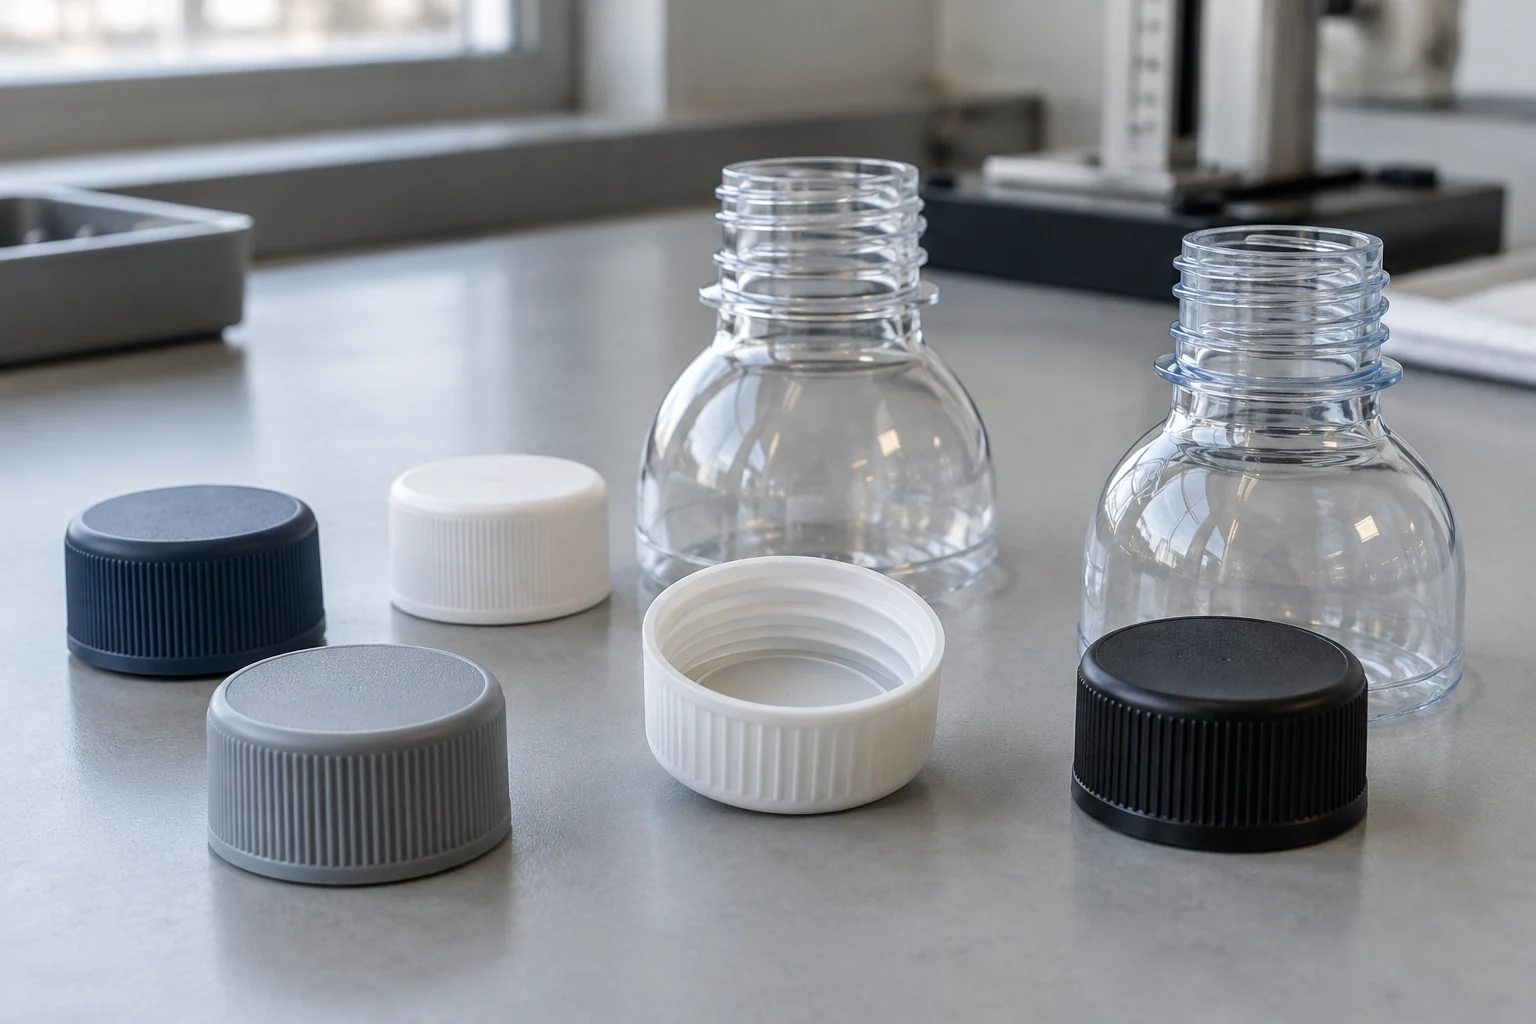
A lotion pump dispenser that will not dispense because its tube is sealed against the bottle base, or cannot be tightened because the chuck misses the cap collar, turns a filled package into rework. For capping and dip-tube sizing, measure the actual bottle interior, trial an open tube inlet, and verify tightening-tool contact on the real closure before approving the setup.
Fit the pump, tube and capping tool as a complete package. Start with the bottle and pump drawings, establish a clearly named tube-length datum, and carry the accepted assembly into the capping trial. A catalog finish option helps identify a candidate pump; the tube trial establishes its fit inside the bottle, while a separate tooling check establishes how the closure will be tightened. Keep those decisions together in the package record.
Identify the pump and bottle before choosing settings
Use the actual bottle and closure references to establish fit; finish codes identify catalog options without proving the whole package will seal.
| Input or item | Typical value or source | Why it matters |
|---|---|---|
| Published screw-dispenser options | Aptar Pav Dispenser lists 24/410 and 28/410 among its neck sizes | Identifies available options on that named product |
| Independent lotion-pump example | Aptar GSA Advance lists 28/410 under Available Diameters | Establishes a catalog offering, without supplying a bottle-fit drawing |
| Bottle interior | Current drawing or physical internal-depth measurement | Provides the actual tube-fitting space |
| Closure contact | Actual cap outside diameter, collar geometry and sample engagement | Establishes the tightening-tool candidate |
| Release criteria | Approved package specification and formulation trial | Supplies the acceptance conditions for production |
The finish strings above appear in Aptar’s Pav Dispenser catalog and GSA Advance catalog, accessed October 2026. Pav has screw fixation. Neither listing establishes interchangeability with an unidentified bottle, and the strings should not be converted into measured cap diameters.
Resolve the bottle and closure drawing match first. Record the pump, bottle and gasket references and drawing revisions together, so a later change is visible in the trial record.
Size the dip tube from a declared datum
Use Berlin Packaging’s named measurement convention and confirm a trial cut in the actual bottle before cutting a batch.
In Berlin’s measurement instructions, overall dip-tube length runs from the top of the gasket to the bottom of the tube. Measure bottle depth separately from the top of the finish to the internal base, using the drawing or a narrow measuring object inserted into the bottle. External bottle height and exposed tube length do not supply those measurements.
Berlin describes an angled end with a slight gap above the base. It also permits a separate arrangement: an angled tube long enough to curve toward the sidewall. Choose the intended route, trial a cut, then remeasure the accepted dispenser length and retain the fitted sample as the cutting template. An intentionally curved arrangement needs its own fit check.
Rules of thumb: If the tube end is cut flush against the bottle base, dispensing is blocked. For the shorter-tube option, keep a slight gap and an angled end. Berlin specifies neither a numeric clearance nor a cutting angle; confirm the fit in the actual container.
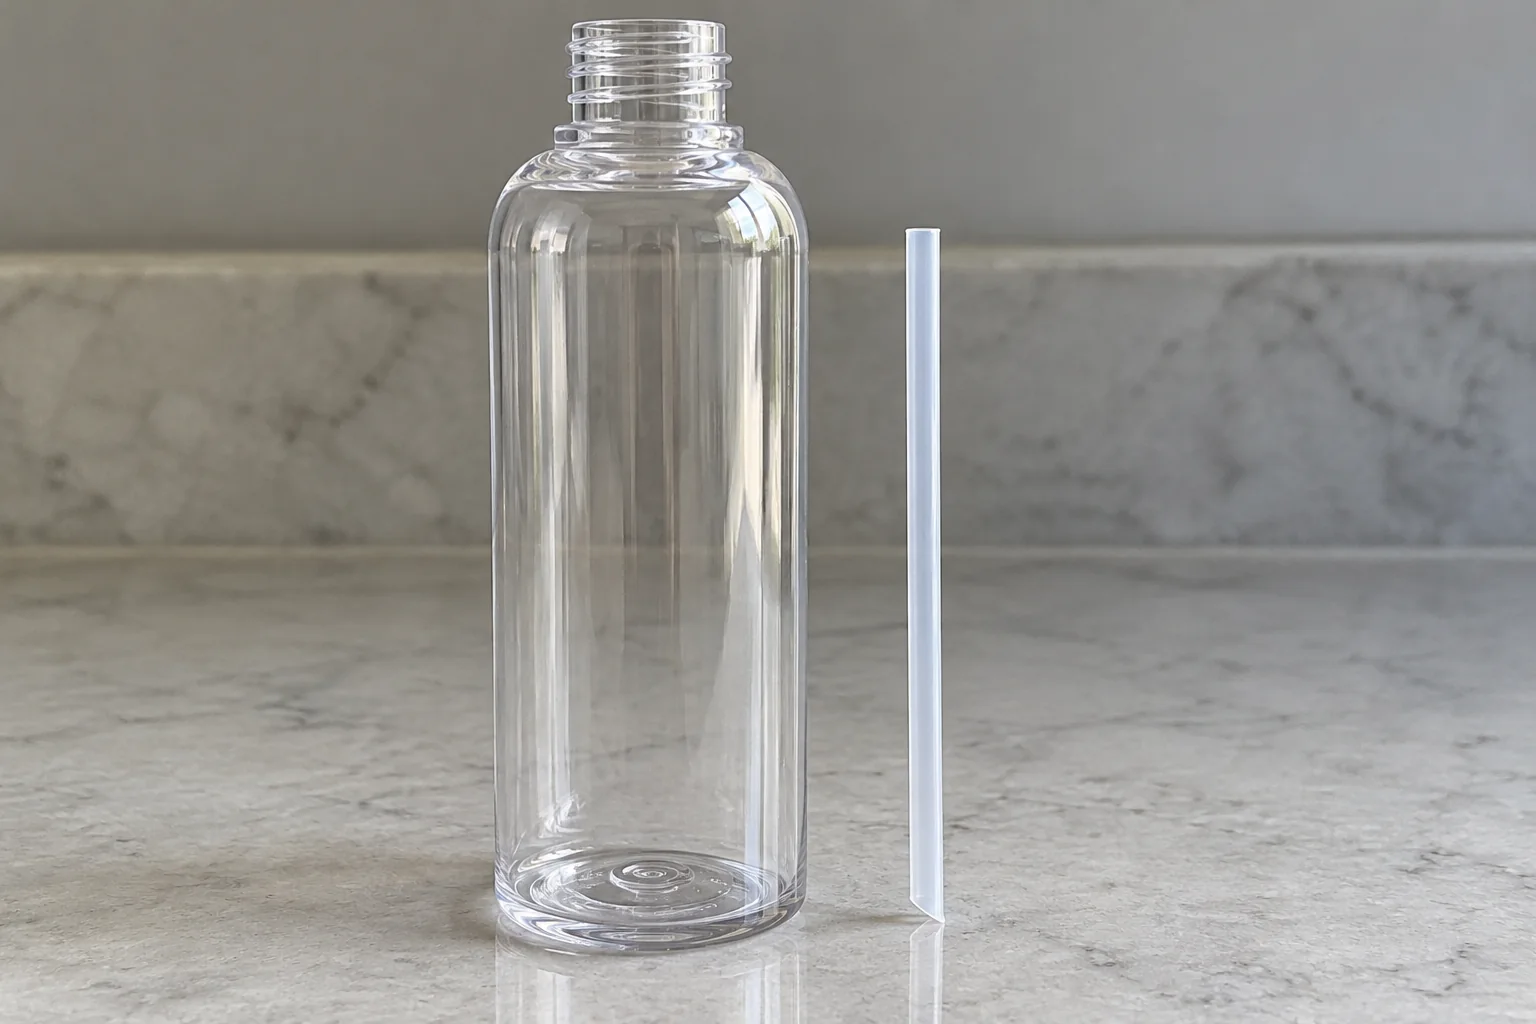
Record the measurement datum, accepted length, end shape and bottle reference together. Keep the sample available when reviewing a replacement tube or bottle revision.
Check where the capping tool grips the pump closure
Measure the actual cap outside diameter and verify that the proposed tool reaches the intended tightening surface while clearing the actuator.
Kinex’s chuck-selection instructions start with cap outside diameter. A pump’s neck-finish code cannot substitute for that measurement. Also identify which closure feature the package supplier permits the tool to drive; treat actuator clearance as a separate check from collar grip.
Kinex explains that a standard chuck’s liner contacts the cap to create grip. Its chuck guide also describes a deep-well cavity for external cap features. In the specific ordering instructions for its ribbed Vanguard tooling, sample caps establish the depth needed for proper rib engagement. These examples support checking contact and depth on samples; they do not establish that a particular stock chuck will fit the pump in front of you.
During the supplier’s setup trial, inspect where the liner or ribs actually engage, whether the actuator clears the cavity, and whether the tool releases the closure cleanly. Preserve the accepted tool and depth references with the package record.

Compare contact routes by their likely failure
Choose the route that can reach the closure’s intended driving surface and demonstrate controlled tightening with the actual bottle.
Kinex’s PumpCap description gives a side-gripping spindle example for lotion pump caps, whose pump occupies the top. Its bottle-gripping demonstration centers the bottle against a backstop and prevents rotation while drive wheels tighten the cap. This is one documented handling arrangement; chuck suitability still depends on the actual closure and tool geometry.
| Candidate arrangement | Contact to verify | Evidence needed | Dominant Failure Mode & Prevention |
|---|---|---|---|
| Standard chuck and liner | Liner reaches the intended cap surface | Actual cap OD and observed sample contact | Missed collar or poor grip: verify the contact band and clearance before acceptance |
| Deep-well or sample-set chuck | Cavity clears external features; liner or ribs engage as designed | Tool geometry and accepted engagement depth on samples | External-feature interference or missed engagement: check cavity clearance and sample-set depth |
| Side-wheel pump-cap tightening | Wheels reach the closure side; bottle remains restrained | Complete pump-and-bottle trial | Bottle rotation or incorrect contact: verify restraint, alignment and the intended drive surface |
| Shorter tube with angled end | Inlet remains clear of the base | Trial fit and accepted-length record | Flush-to-base inlet blockage: preserve the slight gap and verify dispensing |
Use the wider capping machine selection guide when comparing complete handling arrangements beyond the tightening contact.
Approve the filled package and record the change cost
Approve the assembly with the actual formulation and agreed acceptance conditions, then record the work required to achieve that result.
APC’s pump-engineering guidance requires the actual formula in the complete intended package; a water screen cannot fully validate production performance. Its evaluation categories include priming, dose consistency, leakage, evacuation and locking/travel performance. It also identifies incorrect tube length as an evacuation or assembly risk, and improper application torque as a cause of leakage, back-off or component damage. Neck-finish dimensions and bottle tolerances can affect sealing.
Use the record below to document package identity, tube fit, and capping setup across qualification trials, agreeing pass/fail criteria with the package suppliers before running the trial.
| Trial record | What to retain |
|---|---|
| Package identity | Bottle, pump, gasket and formulation references; drawing revisions and sample lots |
| Tube fit | Declared datum, accepted length and end shape; retained fitted sample |
| Capping setup | Tool reference, contact surface, engagement-depth reference and bottle restraint |
| Closing result | Seating, visible damage, leakage and back-off observations against agreed criteria |
| Dispensing result | Priming, consistency and evacuation results with the actual formulation |
| Handling state | Required lock/travel state and actuator orientation as package-specific inputs |
| Decision | Accepted combination, unresolved fault and condition requiring a repeat trial |
Obtain application settings from the approved package specification. The closure torque overview and cap torque testing guide support the next measurement decision; no generic torque follows from a finish code or chuck size.
APC also identifies testing, line adjustments, rejects, leakage and rework as costs beyond pump unit price. For each candidate, record trial effort, setup time and affected material, then compare costs against the same acceptance criteria. Keep measured costs and unresolved risks visible rather than assigning an unsupported saving to a pump change.
Technical basis and scope
This reference combines Aptar catalog specifications (Pav Dispenser and GSA Advance), Berlin Packaging dip-tube measurement conventions, Kinex capping chuck and bottle-restraint engineering guides, and APC Packaging skincare-pump validation criteria. Verify final production acceptance against controlled drawings and the qualified package specification. Continue in capping machinery.